

Replacement refrigeration compressor
By Aleksandr, Engine Room Apprentice
The refrigerant compressor on board of the Coral Star, appeared to be malfunctioning, because itmade a lot of noise. Therefore, we needed to replace the compressor.
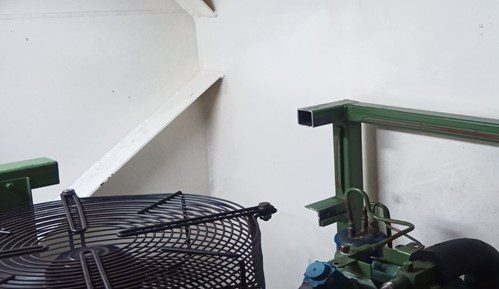
Shortly after we received the new compressor the preparation for the replacement began. First, we isolated the refrigeration system no.1, by switching off the power and disconnecting all wires and pipeline connectioned to the compressor. After disconnecting all the tubes and wires, it appeared that there was not enough space to get the compressor out. Due to lack of space we decided to cut off a part of the support structure and which we would reinstall after the overhaul.
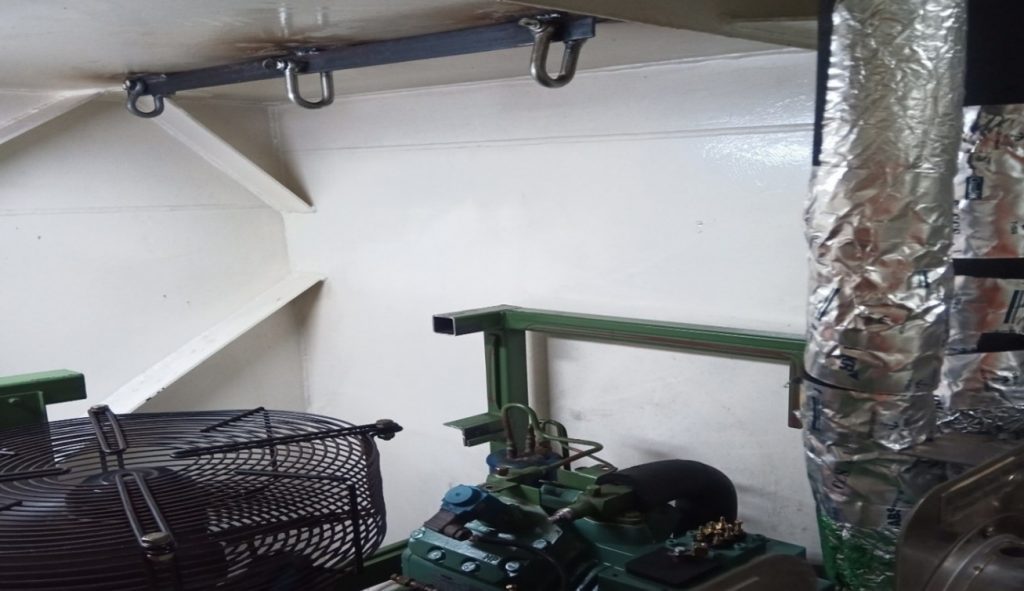
The next step was to find a way to safely lift the compressor and remove it.The Chief Engineer made a special construction for this step: A beam with several holes in which we could install shackles for a chain block, that we welded over the compressor. After that, the overhaul went much faster.
We removed the old compressor and installed the new one with the same system without any problems. The 2nd and 3rd engineer installed it properly and connected all pipes and wires, made it vacuum in which they took out all the air and moisture in the system. Finally, we did a pressure test to make sure that there was no leakage.
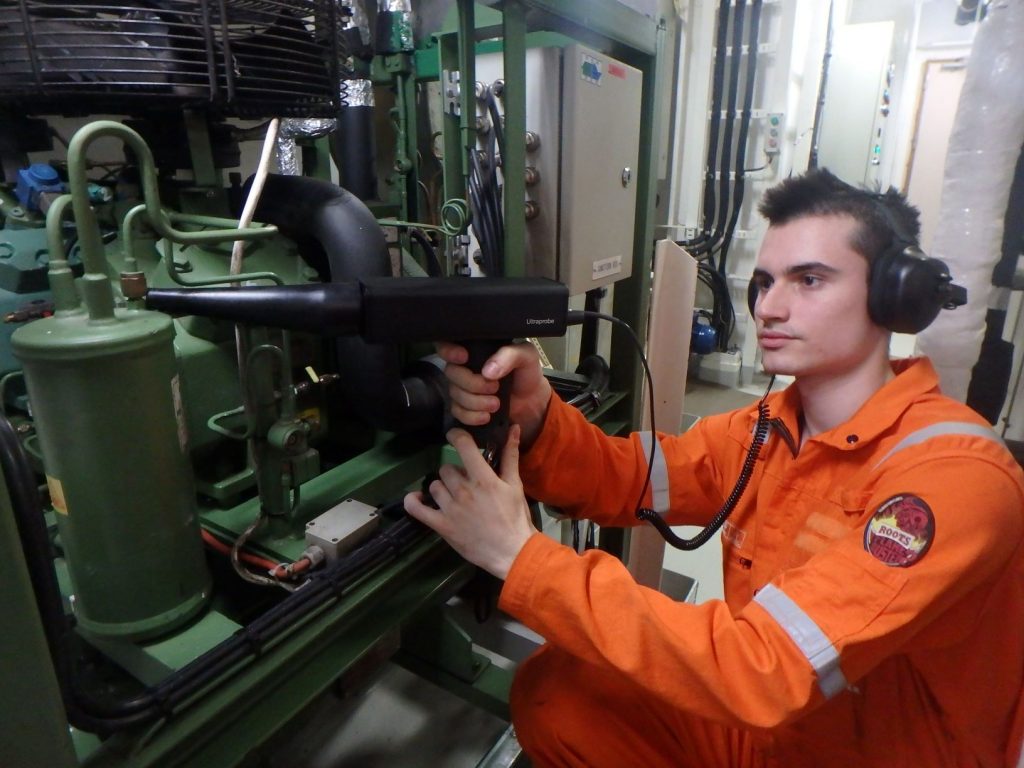
This leak testing was done by the 2nd engineer, who was using an ultrasonic device to find gas leaks, by checking all the pipes, valves and connections. An ultrasonic sensor is built into the device. If there is a gas leak , the device “hears” the sound effect formed by the leakage. Ultrasonic detectors are able to pick up ultrasound and determine the location of the leak by its direction. The microphone installed in the device picks up signals at different frequencies and waves passing through a frequency filter. The main sound is put can be heard by the attached headphones. Sound frequency data is displayed immediately on the display of the device. With the help of an ultrasonic leak detector, even the smallest leaks that cannot be heard by human can be detected.
During the testing, we made sure there were no leakages. Next,we prepared the lines to change over the compressor. After completing the changeover to the new compressor we checked all the connections and valves for leakages again. Luckily, all the parameters where still good and compressor could run properly without any leakages.
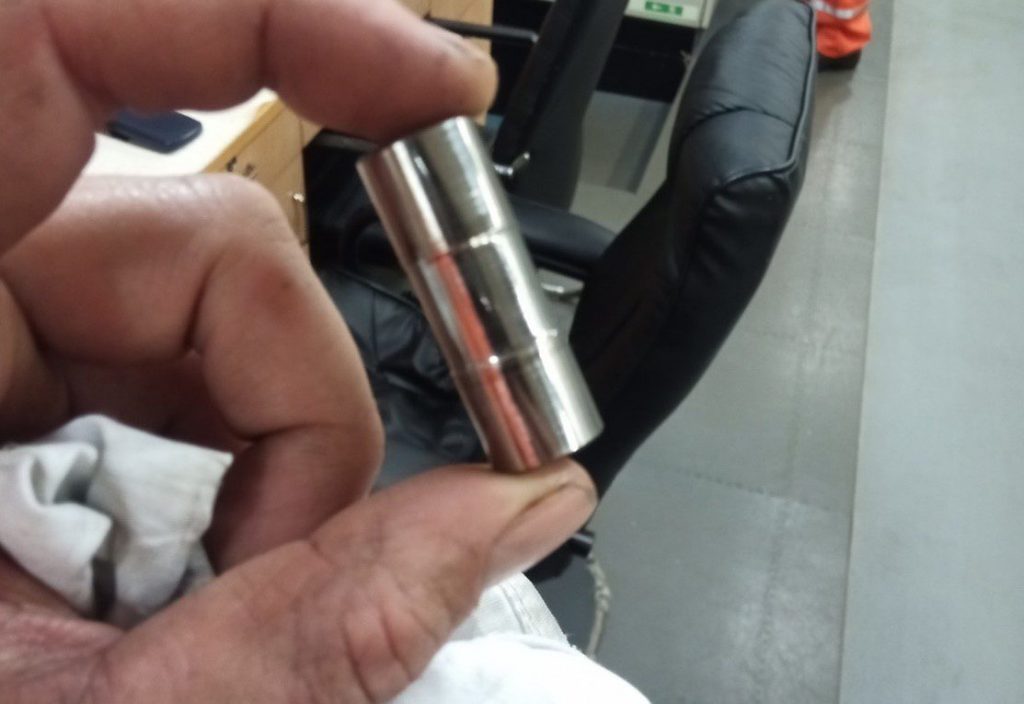
The old compressor was disassembled and we discovered what was causing so much noise. We found that the piston pin which was worn out, therefore the clearance between the connection rod and crankshaft was much larger than normal.